Amazing graphics without pricey software

I used Photoshop to make most of my graphics – and I would highly recommend that to anyone. However, did you know there’s a free, online option you can use to create your own images with text? This week’s tip is all about a resource I love – PicMonkey.
Why PicMonkey?
First, a quick disclaimer. If you’re looking to make quote images and other quick “shareables” for social media, this is a good method. Please understand though, that PicMonkey is not so good for print, and if something is really text-heavy, or needs a very specific “feel” to it, you’ll probably want to bring in a designer/typographer. Just because you can use PicMonkey for any image, doesn’t mean you should. Got it? Good! Moving on…
I adore PicMonkey for a myriad of reasons, including:
- Easy editing of existing images
- Create new images easily, in any size
- Pain-free collages
- Use their collection of awesome fonts or your own!
- Easily add text, shape overlays, tons of effects, and layer your own images
- A toolbox jam-packed full of amazing resources, including Themes, which group resources by similar aesthetics
Seriously. It’s nearly a drag and drop, simplified version of Photoshop. Like most things, the more you play with it the more you’ll learn, but even a first-timer can make the image above!
It’s worth noting that PicMonkey offers “Premium” and “Supremium” service for a price, and any resource with a crown icon requires An upgrade. As of writing this, the price is $4.99/month or $39.96/year, and I highly recommend it for the advanced tools, effects, and resources it unlocks – such as online storage, templates, and the ability to edit your images later.
March 2017 Update – With the rollout of Premium (replacing Royale) and Supremium the pricing has changed. Premium is $7.99/month or $47.88/year and Supremium is available annually for $99.99 per year. Supremium offers unlimited hub storage and better organization tools.
However, they do NOT skimp on the free resources, and there is a free trial to see if the upgrades are worth it for you. This tutorial is only going to feature the free goods because I want to be sure anyone can start making these fun graphics!
How
First, go to PicMonkey.com. Choose Design – click the icon, or hover and choose Square.

![]()
Beautiful! You’re going to need 2 images for this. If you want the same effect as the image above, you’ll want to use 1 darker, saturated image and one that is mostly white with some dark lines/shapes. These are the images I used:


![]()
 Next, Go to the butterfly icon on your left. Click on it to bring up your Overlays menu. The amazing thing about Overlays: you can load your own. That’s exactly what we want to do, so click the Your Own button at the top. To load an image from Facebook, DropBox, OneDrive, or Flickr click the down arrow to the right of Your Own.
(Tip: you can do the same thing with the Textures panel – the icon two down.)
![]()
Scale your image so it fills the entire square. Click in the corners and drag – don’t worry, it won’t distort the image.

![]()
Click on Your Own again to load your second image in, then resize how you like it.

![]()
 Are you ready for the magic? Because this is where it happens, and it’s what many don’t think to do in PicMonkey!
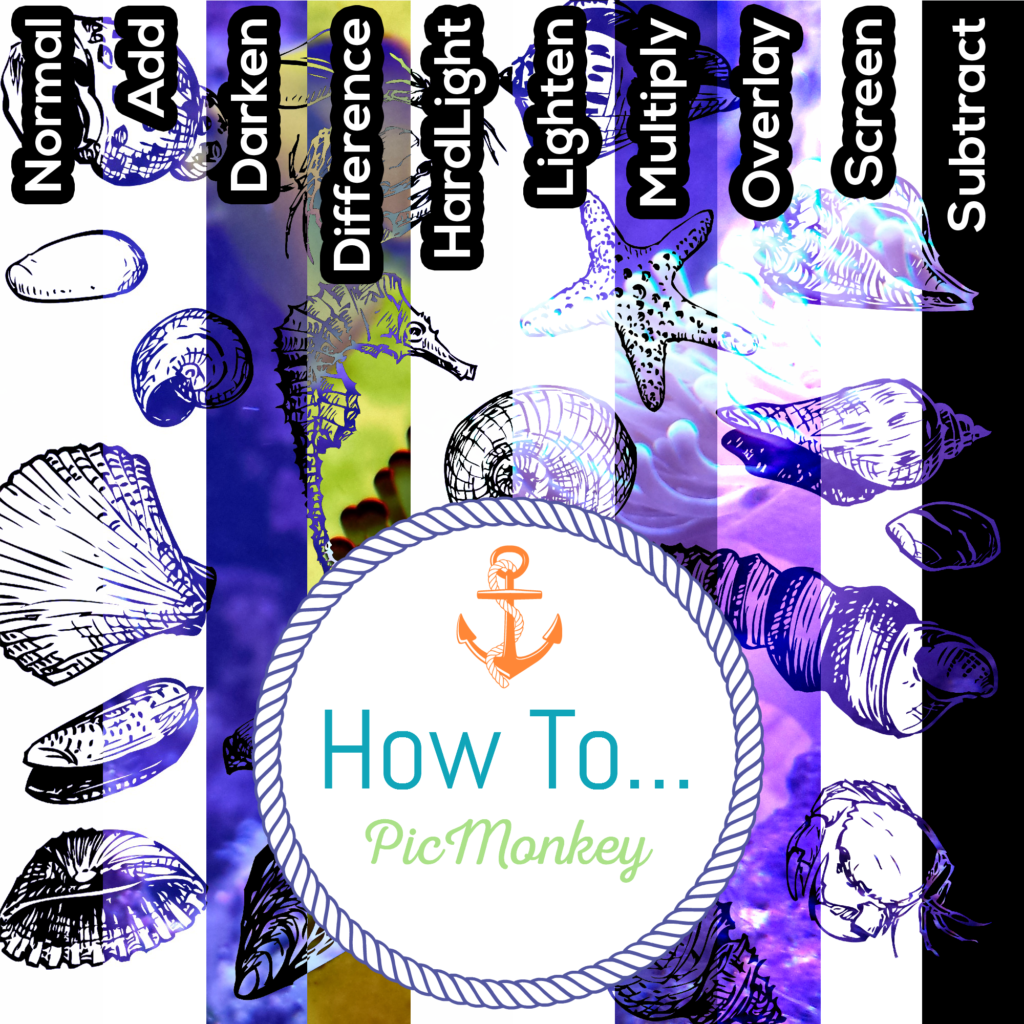
When you click on the second image, the Overlay panel shows up, hovering off to the side. Notice the “Blend modes:” dropdown, because it’s about to be your best friend. There are 10 options, and each one gives a different effect, layering both images together.
Here are the 10 options, and how they affect the images I chose:

Amazing, right? That’s a lot of variation for just two images, and some pretty awesome effects. For my version, I chose Add.
![]()
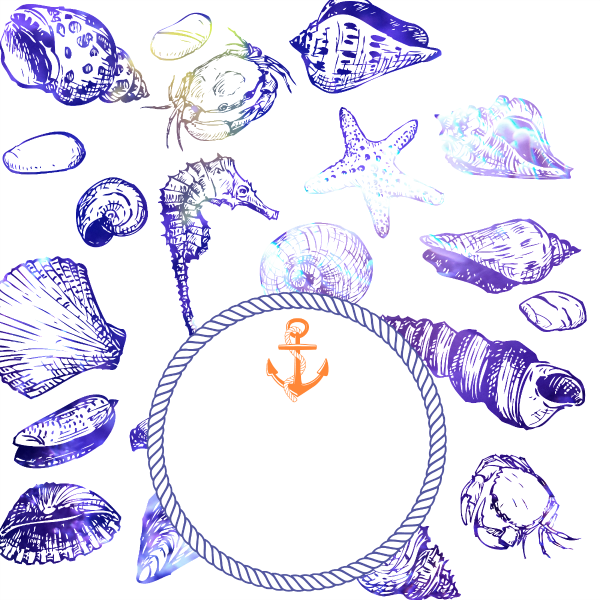
 Now, click on the different Overlay shape options – I chose Nautical, because… well, the pictures are pretty fishy. 😉
Click on any of the shapes to add them to your design, then resize, recolor, flip, and blend to your heart’s content!

![]()
 Add text by clicking on the “Tt” icon.
You can choose from their fonts (which are actually quite nice) or the fonts on your computer. I’m a font hoarder, so I chose mine.
Click on the font you want to use, then click Add Text. Click on the box that appears on your image, and start typing. You can change the color, size, and blending of this as well!
![]()
 Done!
Done!
It’s that easy, and frankly, it’s fun. You can play with this in a million ways to get endless effects, from modern to rustic. Go give it a try, and feel free to share your images with me – I’d love to see them!


 Done!
Done!